Home » Kitchen Essentials

Category: Kitchen Essentials

  • How to Sharpen a Kitchen Knife at Home

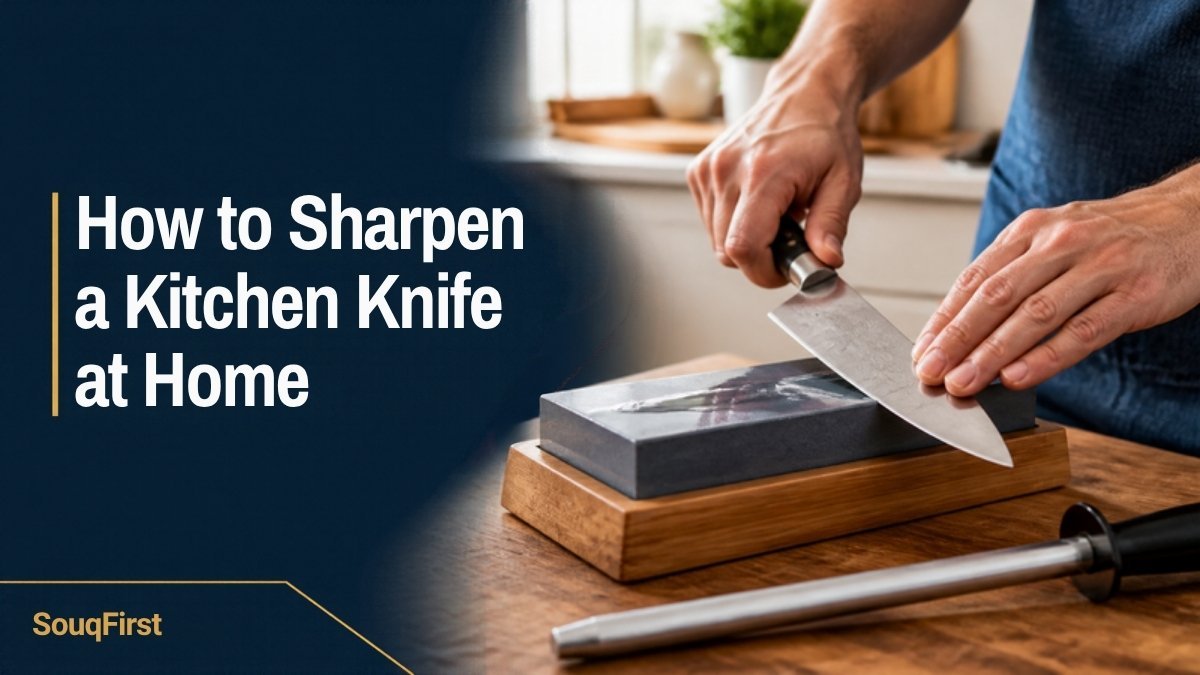
    How to Sharpen a Kitchen Knife at Home

    A sharp knife is safer than a dull one. Dull blades need more force, slip more easily and crush food instead of slicing it. The good news: keeping your kitchen knives sharp at home is easier than it looks. This guide covers honing, sharpening and simple tools for beginners.

    Honing vs sharpening: what’s the difference?

    • Honing straightens the thin edge of the blade, which bends out of line with normal use. It doesn’t remove much metal. Use a honing rod (often called a “sharpening steel”) every few uses.
    • Sharpening grinds away a small amount of metal to create a new edge. It’s needed less often, typically when honing no longer brings the knife back.

    Choosing a sharpening tool

    • Whetstone (sharpening stone): gives the most control and the best edge, but takes practice. A combination stone with a medium grit (around 1000) for sharpening and a fine grit (around 3000–6000) for polishing suits most home cooks.
    • Pull-through sharpener: fast and easy for beginners. The trade-off is less control, and some models remove more metal than needed.
    • Electric sharpener: quick and consistent; follow the instructions carefully.
    • Professional sharpening service: a good option for expensive knives or if you’d rather not do it yourself.

    How to sharpen with a whetstone

    1. Prepare the stone. Many water stones need soaking for 10–15 minutes; others only need a splash of water. Follow the stone’s instructions.
    2. Place the stone on a damp towel or non-slip base so it doesn’t move.
    3. Find the angle. Western-style knives are often sharpened at about 20 degrees per side; many Japanese-style knives are sharpened closer to 15 degrees. Check your knife maker’s recommendation.
    4. Sharpen one side. With light, even pressure, slide the blade across the stone from heel to tip, as if slicing a thin layer off the stone. Repeat 10–15 times.
    5. Feel for a burr. A tiny rough lip forms on the opposite side when that side is sharp. Run your fingertip gently across (not along) the edge to feel it.
    6. Sharpen the other side the same number of strokes.
    7. Polish on the fine side of the stone with lighter strokes on both sides.
    8. Rinse and dry the knife and stone.

    How to use a honing rod

    Hold the rod vertically with the tip on a towel. Place the heel of the blade against the top of the rod at roughly the same angle you sharpen at, then draw the knife down and toward you so the whole edge touches the rod. Alternate sides for 5–8 strokes each.

    How to tell if your knife is sharp

    Try slicing a sheet of paper held in the air. A sharp knife cuts cleanly; a dull one tears or snags. A ripe tomato is another good test: the blade should break the skin without pressing.

    Safety tips

    • Always move slowly and keep your fingers away from the edge.
    • Never test sharpness by running a finger along the blade.
    • Don’t sharpen serrated bread knives on a flat stone; they need a special tapered tool or a professional service.
    • Store knives in a block, on a magnetic strip or with blade guards.

    Frequently asked questions

    How often should I sharpen my kitchen knives?

    Hone every few uses and sharpen when honing stops helping; for many home cooks that is a few times a year.

    Is a pull-through sharpener bad for knives?

    It’s convenient and fine for everyday knives, but it offers less control and may remove more metal than a stone.

    What angle should I sharpen a kitchen knife?

    Often about 20 degrees per side for Western knives and about 15 degrees for many Japanese knives. Follow your knife maker’s guidance.

    The bottom line

    Hone often, sharpen occasionally, and keep a steady angle. With a little practice on a whetstone, or the convenience of a pull-through sharpener, your knives will stay sharp and safer to use.

    New to knives? Read How to Choose a Chef’s Knife and browse Kitchen Accessories.
    Related articles

  • How to Choose a Chef’s Knife: A Beginner’s Buying Guide

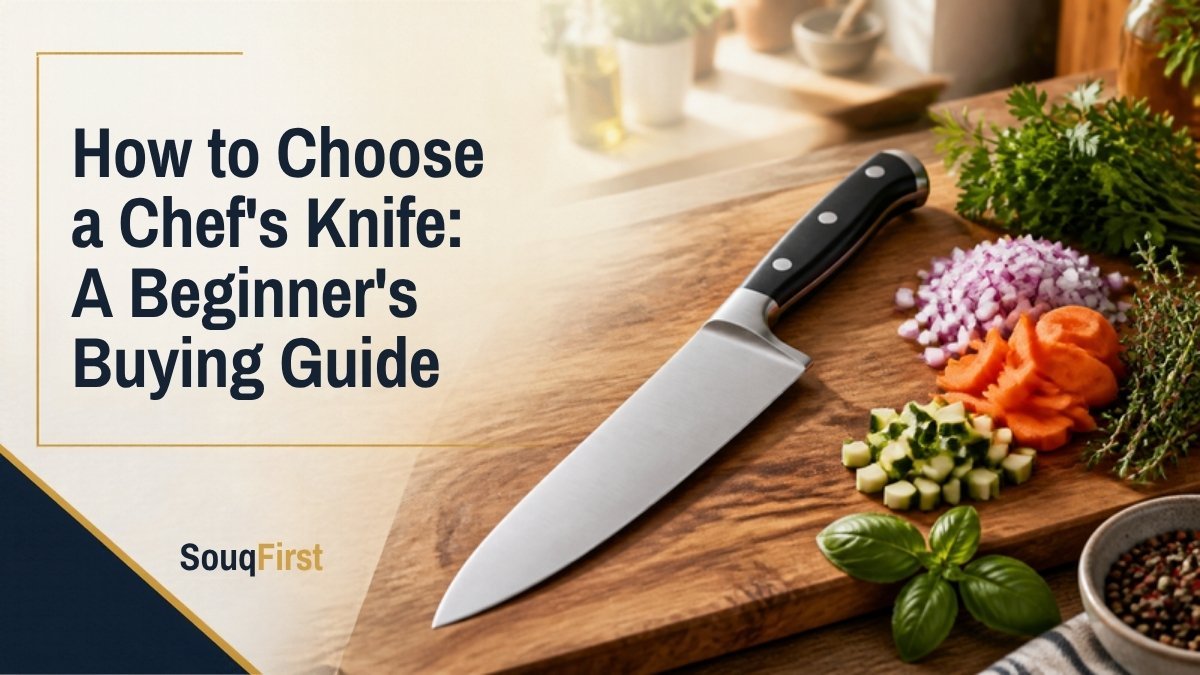
    How to Choose a Chef’s Knife: A Beginner’s Buying Guide

    This buying guide is based on independent research, not hands-on testing of specific models.

    A good chef’s knife does most of the work in a home kitchen: chopping onions, slicing chicken, mincing herbs and cutting vegetables. If you buy only one quality knife, this is the one. Here is what actually matters when choosing one, and what you can safely ignore.

    Blade length: start with 8 inches

    Chef’s knives usually range from about 6 to 10 inches. An 8-inch blade is the most common choice because it is long enough for big vegetables and short enough to control. If you have smaller hands or a small cutting board, a 6- or 7-inch knife may feel more comfortable. A 10-inch blade suits experienced cooks who prep large amounts of food.

    German style vs Japanese style

    Most chef’s knives fall into two broad styles:

    • German-style (Western) knives are typically heavier, with a thicker blade and a curved edge that rocks well for chopping. The steel is usually a little softer, which makes the edge more forgiving and less likely to chip, though it may need honing more often.
    • Japanese-style knives (often called gyuto) are typically lighter and thinner, with harder steel that can take a very sharp edge. They excel at precise slicing, but the harder edge can chip if used on bones, frozen food or glass boards.

    Neither is better. Choose German-style if you want durability and a heavier feel; choose Japanese-style if you want a lighter knife for precise cuts and are willing to take more care with it.

    Blade material

    • Stainless steel resists rust and stains and is the easiest to care for. It is the best choice for most home cooks.
    • High-carbon stainless steel is a common label for blades designed to balance edge sharpness with rust resistance.
    • Carbon steel can get very sharp but rusts and discolors if not dried right away. It suits enthusiasts.
    • Ceramic blades stay sharp for a long time but are brittle and can chip or break if dropped.

    Handle and balance

    The best knife is the one that feels secure in your hand. Look for a handle that does not get slippery when wet and a balance point that feels natural, often close to where the blade meets the handle. If you can, hold a knife in a store before buying one online.

    Full tang vs partial tang

    “Full tang” means the metal of the blade runs through the entire handle. Many cooks like the balance and sturdiness this gives. Well-made knives with other constructions can also perform well, so treat tang as one factor rather than a rule.

    What you can skip

    • Huge knife blocks. A chef’s knife, a paring knife and a serrated bread knife cover most home cooking.
    • “Never needs sharpening” claims. Every edge dulls with use.

    How to keep your knife sharp

    • Use a wood or plastic cutting board, never glass, stone or ceramic.
    • Hand-wash and dry the knife right away. Dishwashers can dull the edge and damage handles.
    • Hone the edge regularly with a honing rod, and sharpen when honing no longer helps.
    • Store it in a block, on a magnetic strip, or with a blade guard, not loose in a drawer.

    Frequently asked questions

    What size chef’s knife is best for beginners?

    An 8-inch knife suits most people. Choose 6 or 7 inches if you have smaller hands or limited counter space.

    Is an expensive knife worth it?

    A mid-range knife with good steel and a comfortable handle is enough for most home cooks. Care and sharpening matter more than price.

    How often should I sharpen a chef’s knife?

    It depends on how much you cook. Honing helps between sharpenings; many home cooks sharpen a few times a year.

    The bottom line

    For most home cooks, an 8-inch stainless steel chef’s knife with a comfortable handle is the right first choice. Pick the style that matches how you cook, and take good care of the edge.

    See our Kitchen Accessories collection and hand-picked options in Affiliate Picks.

    Related articles

  • Everyday Cooking Made Easier: Smart Kitchen Tools That Save Time

    Everyday Cooking Made Easier: Smart Kitchen Tools That Save Time

    Disclosure: some links on souqFirst are affiliate links. If you buy through them we may earn a commission at no extra cost to you. See our Affiliate Disclosure.

    The right tools do not have to be expensive. They just need to make everyday cooking faster, safer and more enjoyable.

    A sharp chef’s knife

    One good, sharp knife handles most prep work. A sharp blade is also safer, because it is less likely to slip.

    A large cutting board

    More space means less mess. Pick a board that does not slide on the counter, and keep a separate one for raw meat.

    A reliable non-stick pan

    Perfect for eggs, pancakes and quick weeknight meals, and it cleans up in seconds.

    Measuring cups and spoons

    Consistent measurements mean consistent results, especially when baking.

    A vegetable chopper or food processor

    Chopping onions, garlic and vegetables in seconds can cut your prep time in half on busy days.

    Start with the tools you would use every day, and build your kitchen from there.

    If you are upgrading pots and pans too, read how to choose a cookware set for your stove type, or see the kitchen utensil set and everyday cookware set in the shop.

    Related guides

    Browse all guides on the blog →

  • Holiday Hosting Essentials: A Simple Checklist for Your Home

    Holiday Hosting Essentials: A Simple Checklist for Your Home

    This guide is based on independent research and common hosting advice, not hands-on testing of specific products.

    Hosting friends and family for the holidays should feel enjoyable, not stressful. You don’t need a huge budget or a fancy dining room. A few dependable essentials, plus a little planning, make any home ready for guests. Use this checklist a week or two before your gathering.

    Table and dinnerware

    • Enough plates, bowls and cutlery for every guest, plus a few extra in case something breaks or a guest arrives unexpectedly.
    • A simple, matching dinnerware set in a neutral color works for every occasion and makes any table look put-together.
    • Dessert plates and spoons so the main plates can go straight into the dishwasher.
    • If you’re short on dishes, quality reusable or compostable plates are a practical backup for big crowds.

    Serving pieces

    • Large platters and serving bowls for the main dish and sides.
    • Serving spoons, tongs and a gravy boat or small pitcher for sauces.
    • A large board or platter for appetizers turns cheese, crackers and fruit into an easy centerpiece.
    • Trivets to protect the table from hot dishes.
    • Before the day, place an empty dish where each item will go and add a sticky note with its name. You’ll find out early if anything is missing.

    Linens and table decor

    • Cloth napkins and a tablecloth or runner add warmth instantly. Choose washable fabrics in calm colors.
    • Simple centerpieces such as candles, seasonal fruit or greenery. Keep them low so guests can see each other across the table.
    • Unscented candles near food are a safer choice, so scents don’t compete with the meal.

    Drinks

    • All-purpose glassware for water, juice and other drinks.
    • A self-serve drink station on a side table or counter keeps traffic out of the kitchen.
    • Ice: make or buy more than you think you’ll need.
    • A pitcher of water on the table.

    Guest comfort

    • Extra seating: folding chairs or stools, borrowed if needed.
    • A spot for coats and bags, such as a cleared closet or a bed.
    • Fresh hand towels and a spare roll of toilet paper in the bathroom.
    • Ask about food allergies and dietary needs ahead of time, and label dishes that contain common allergens like nuts, dairy or gluten.

    Kitchen prep the day before

    • Empty the dishwasher and trash so you start with a clean slate.
    • Clear counter space for serving and for dessert.
    • Make at least one dish ahead of time.
    • Set the table the night before or an hour before guests arrive.
    • Plan where leftovers will go and have food storage containers ready.

    After the meal

    • Refrigerate leftovers within 2 hours of serving, following USDA food safety guidance.
    • Offer guests leftovers in containers you don’t need back.
    • Soak tough pans right away and leave the rest for after everyone goes home.

    Frequently asked questions

    How many place settings should I have for hosting?

    Have one per guest plus two or three extra, so you’re covered for breakage or a last-minute guest.

    What should I prepare the day before hosting?

    Set the table, prep any make-ahead dishes, clear the dishwasher and fridge space, and gather serving pieces.

    How do I host in a small apartment?

    Serve buffet-style from the kitchen counter, use a side table for drinks, and borrow folding chairs if needed.

    The bottom line

    Great hosting is mostly preparation: enough dishes, the right serving pieces, a drink station and a clean kitchen to start. Check off this list a week ahead and you can spend the day with your guests instead of searching for a gravy boat.

    Browse our Dining & Tableware collection for serving pieces and linens.

    Related articles